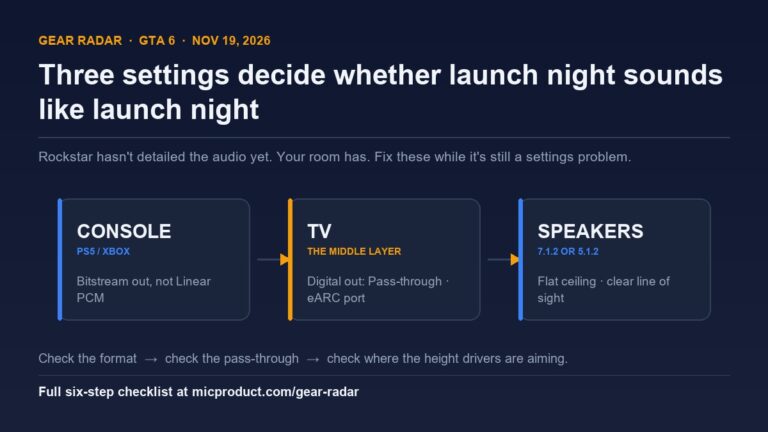
How to Build a 5.1.2 Home Cinema in Your Living Room (Without Renovation)
Real surround sound has a reputation for meaning holes in the ceiling, cable trenches and a weekend of dust. It doesn’t have to. A proper 5.1.2 Dolby Atmos system can go into a finished living room in an afternoon — no renovation, no drilling, no van parked outside.
First, what “5.1.2” actually means
The numbers are less cryptic than they look. The first digit is your surround bed: five channels — front left, centre, front right, and two surrounds behind or beside you. The second is the subwoofer, the “.1” that handles everything below roughly 80Hz so the other speakers don’t have to. The third is the part most people skip over, and the part that actually matters here: the two height channels.
Those height channels are what make a system feel like a cinema rather than a loud TV. They’re the layer where Dolby Atmos lives — the sound that puts rain above you and lets a helicopter track across the ceiling instead of circling the walls. In a dedicated room you’d cut holes in the ceiling for them. In a living room you don’t need to, and that is the entire point of this guide.
The subwoofer earns its place in the name too. Film sound is mixed with a dedicated low-frequency channel, and asking a slim bar or a pair of bookshelf speakers to reproduce it is asking too much. A separate sub takes that load off everything else, so the whole system plays louder, cleaner and with more authority when a score drops or a door slams.
Two ways to get there without touching the walls
There are two honest paths to a 5.1.2 that leaves your walls alone. One is a single-purchase soundbar package. The other is a set of passive speakers you build around. Both work; they just suit different people.
The soundbar route — one box, done
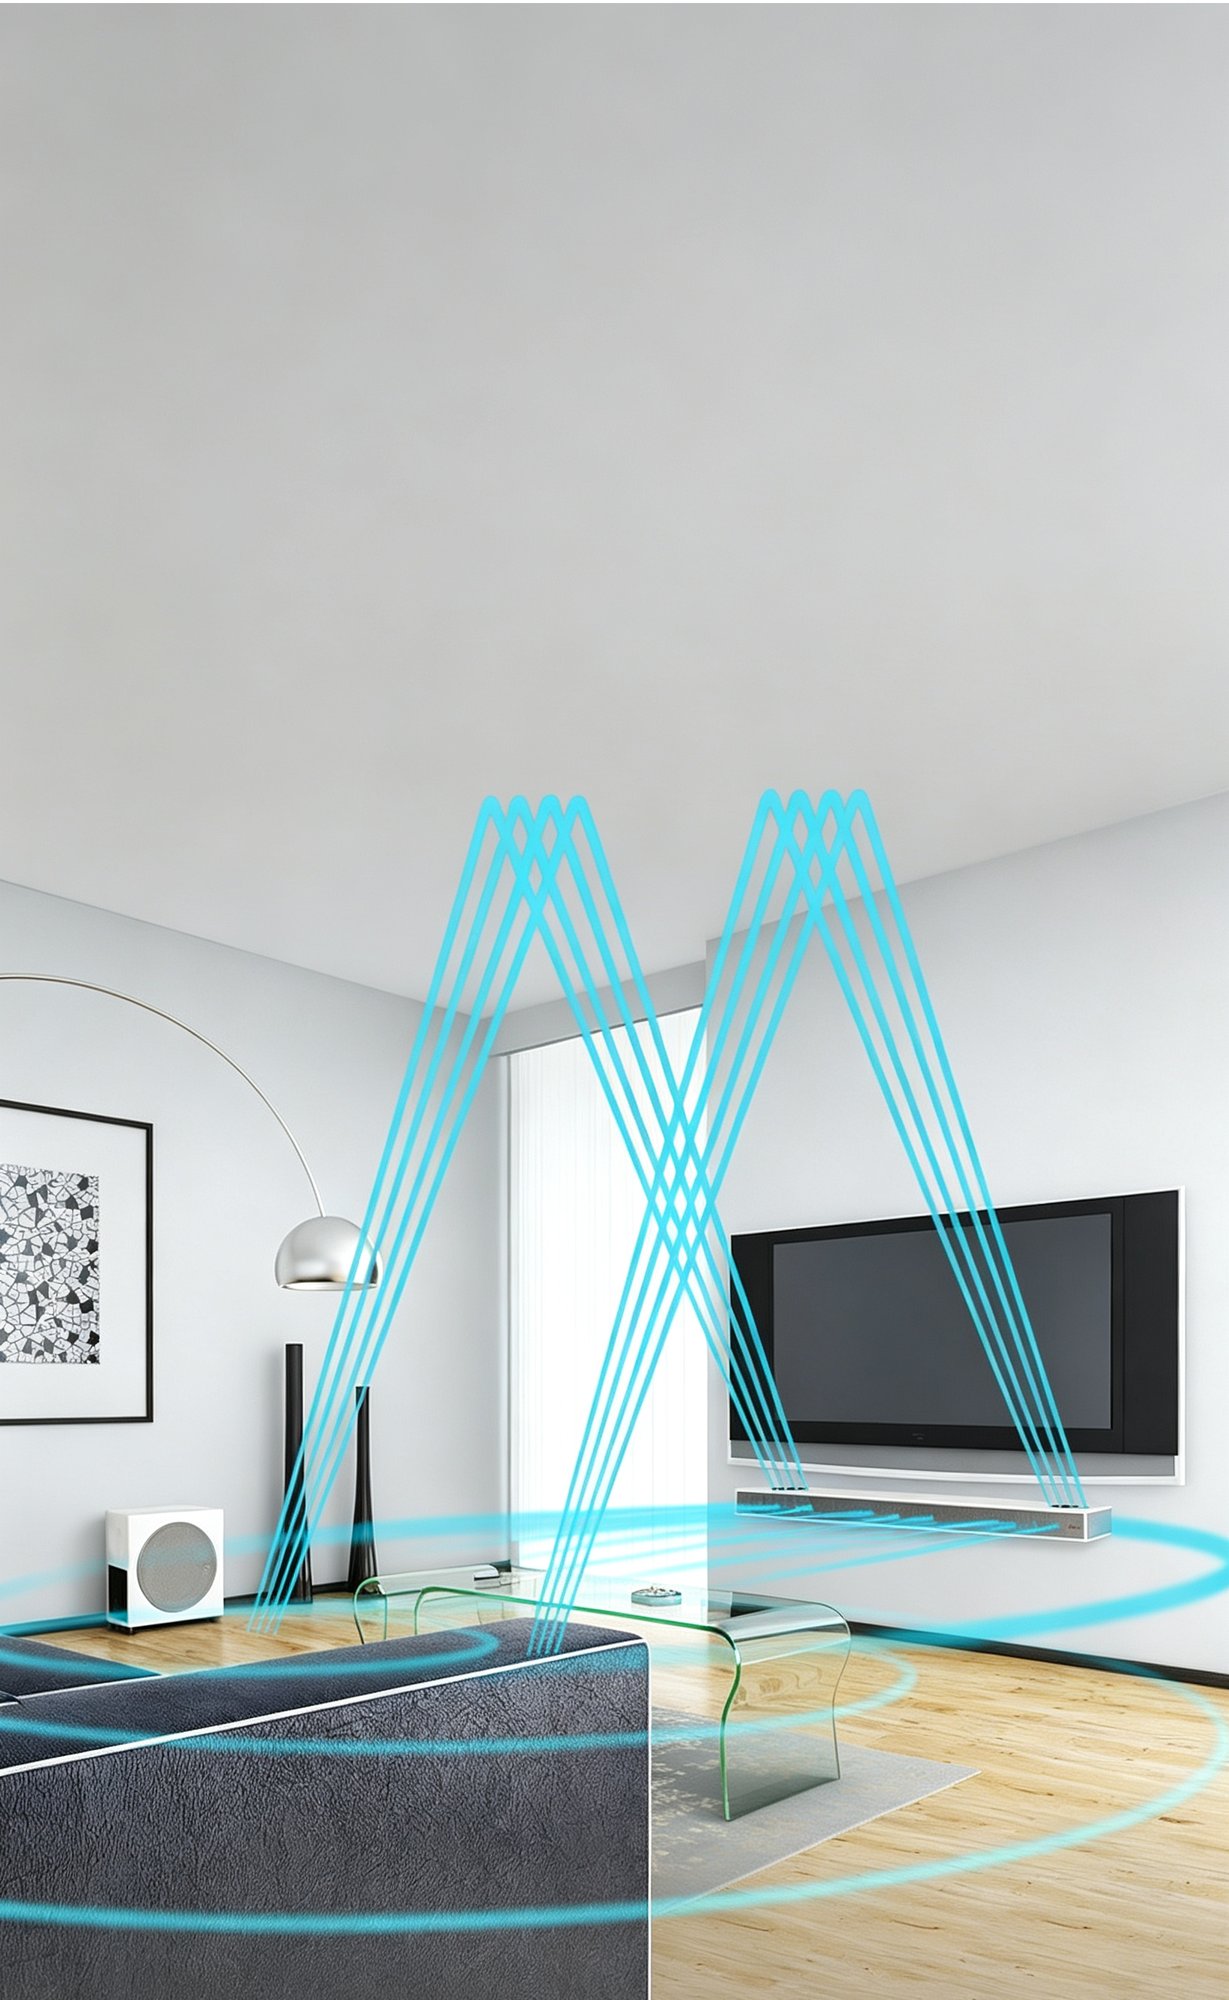
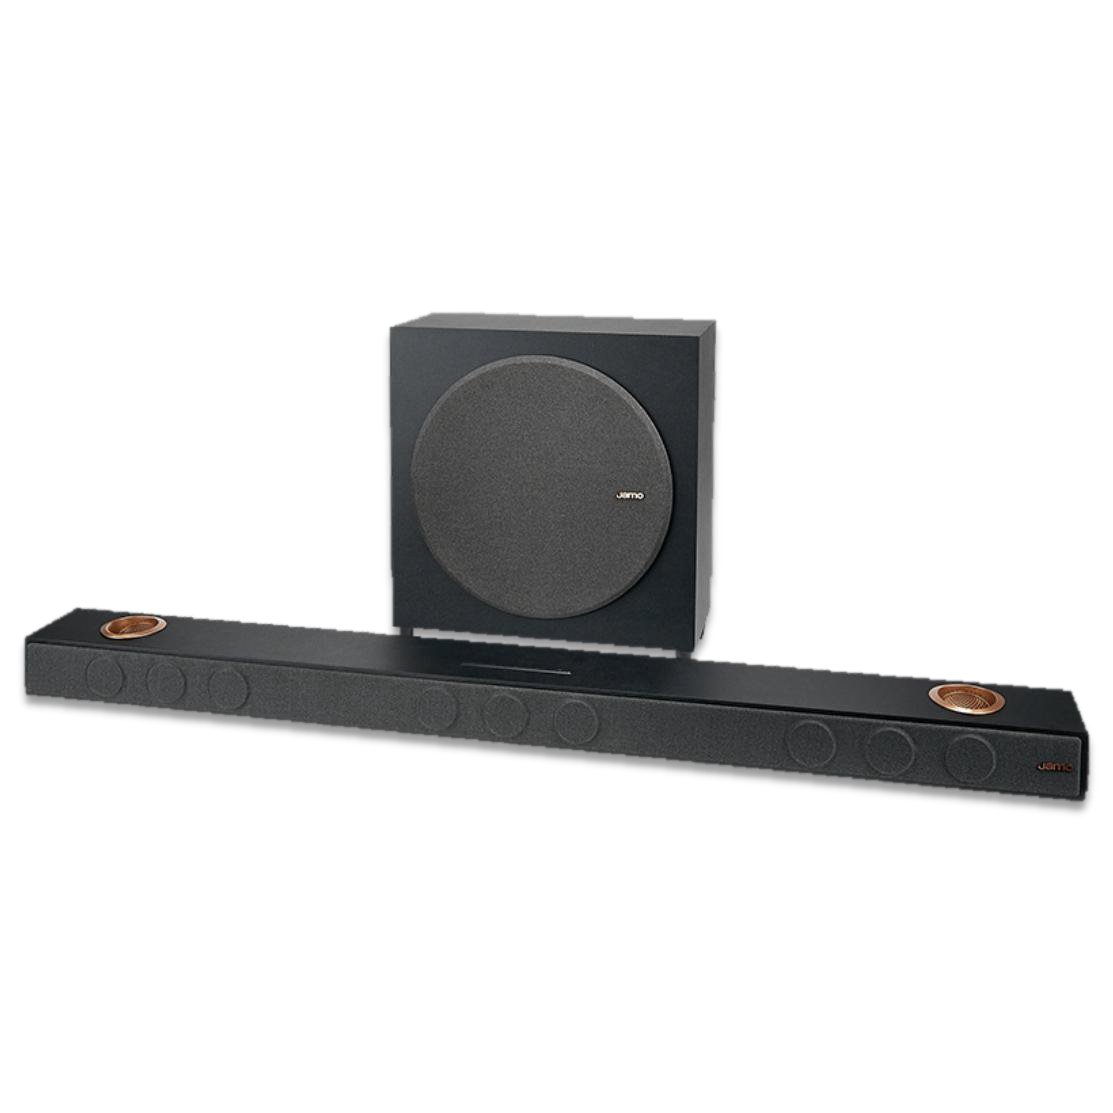
This is the path for most people, and it’s hard to argue with the convenience. The Jamo HCS B5 bundles the whole thing: a soundbar with up-firing height drivers, a wireless subwoofer and the surround speakers, all matched and tuned to work together out of the box. The up-firing drivers bounce the height channels off your ceiling, so you get the full Atmos layer without a single hole in the plaster.
What you’re really paying for here is the integration. Speaker matching, crossover points, the sub’s level — all of it is handled, so you plug in power, run one eARC cable back to the TV, and you’re done in about twenty minutes. For a living room with a flat ceiling (the one hard requirement for up-firing Atmos), it’s the fastest route to a genuine 5.1.2.
The separates route — towers, centre and an AVR
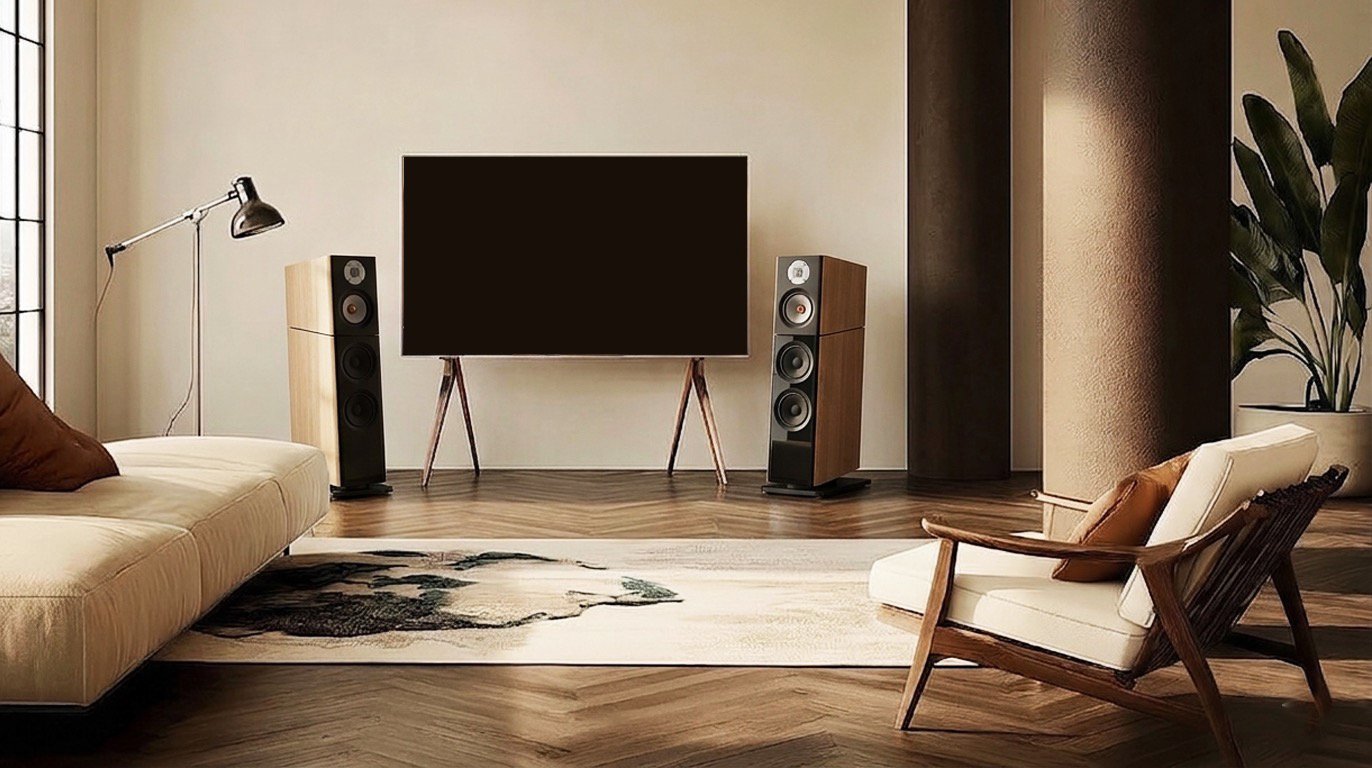
If you’d rather build something with more headroom and a longer upgrade path, passive speakers are still the better tool. The Jamo S526 HCS gives you the five-speaker core — two floor-standing towers, a centre channel and a pair of surrounds — and leaves the amplification and processing to a receiver you choose.
The trade-off is honest: you’re adding a component and a few more decisions, and the AVR is a separate purchase. What you gain is power you can grow into, proper placement flexibility, and the option to add height channels later without starting over. If you can picture this system living with you for a decade, separates age better than any bar.
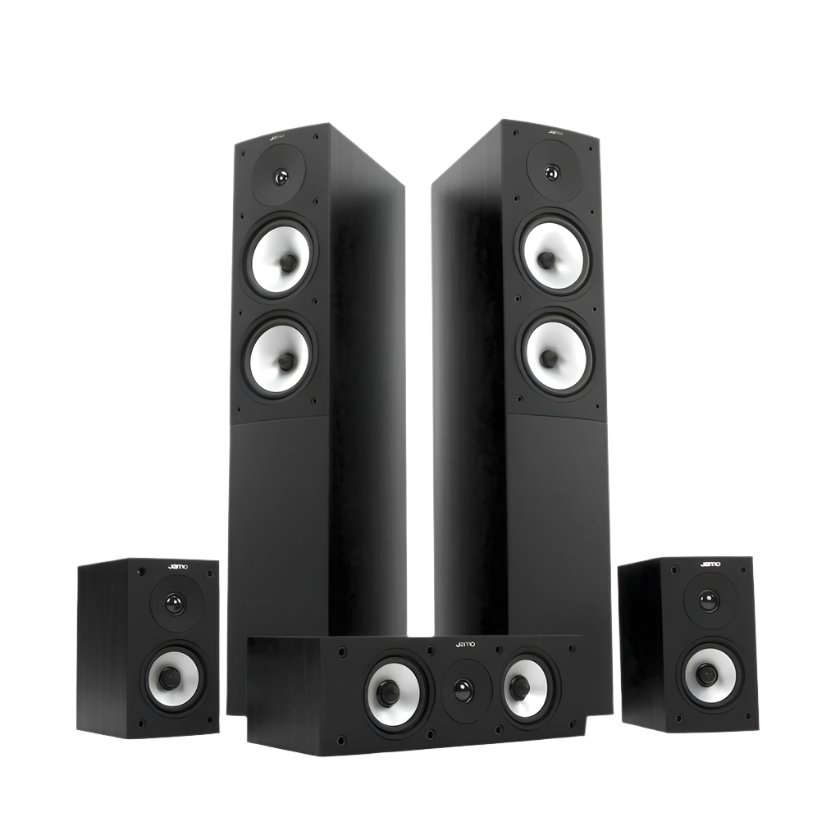
So which route is yours? If you want the result today and never want to think about it again, take the soundbar. If you enjoy the idea of choosing your own receiver, rewiring later and upgrading one speaker at a time, take the separates. There’s no wrong answer — the mistake is buying neither and living with the TV’s built-in speakers for another five years.
Placing everything without drilling
The classic excuse for never finishing a surround setup is “I don’t want to run cable through the walls.” Fair — but you don’t have to. Surrounds don’t need to be wall-mounted; they sit happily on low stands just behind and to the sides of the couch, at roughly ear height. Speaker cable is thin enough to tuck under a rug or pin along a skirting board, and against a dark floor it effectively disappears. The centre channel goes straight under the screen — every setup has room for that one.
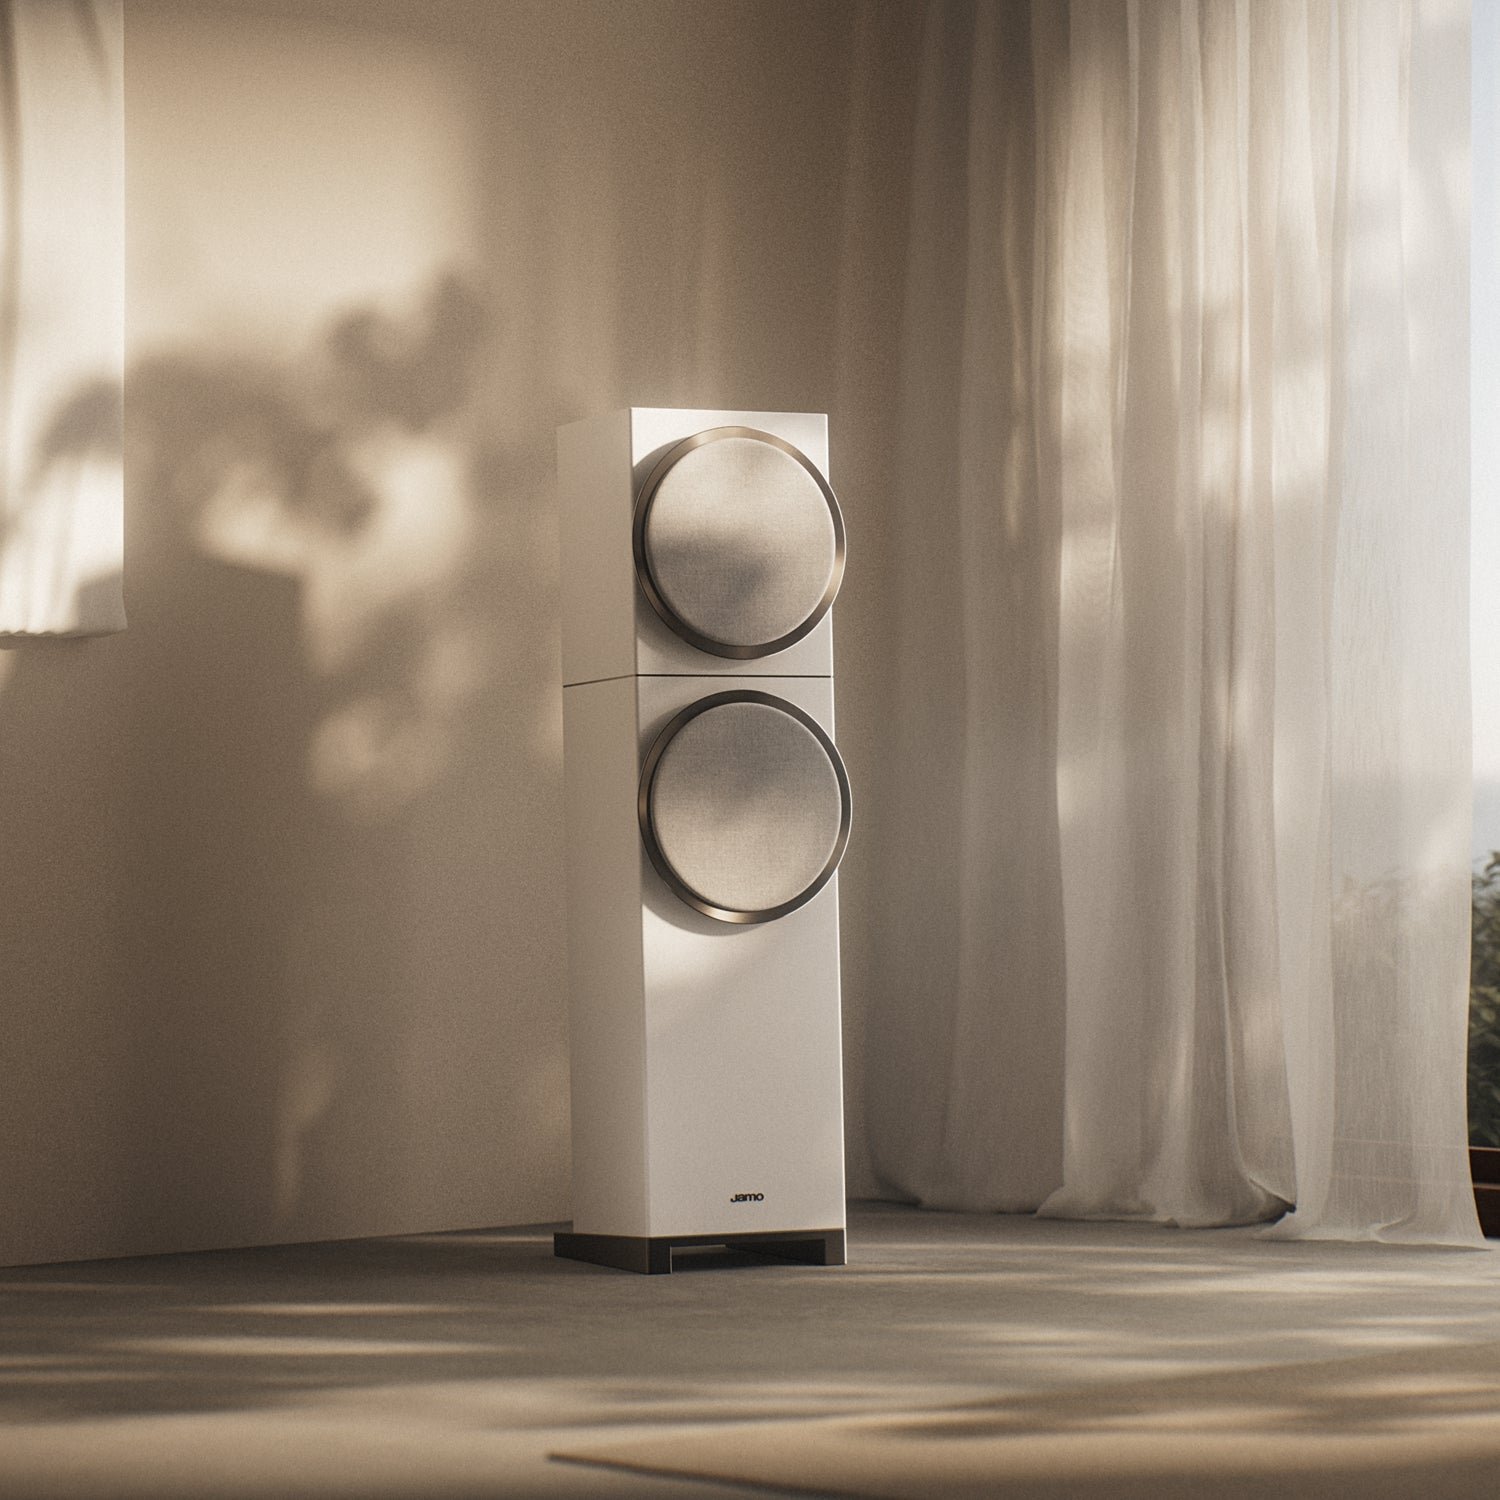
For the height channels, the no-drill answer is the one we’ve already covered: up-firing drivers placed on top of the front speakers, angled at the ceiling. They do depend on a flat, reasonably reflective ceiling between about 2.4 and 4 metres high. If yours is vaulted, heavily textured or much higher than that, skip the reflection and budget for real height speakers on stands instead — still no holes, just taller boxes aimed down at you.
The subwoofer is the one speaker that rewards a little experimentation. Start in a front corner, play a bass-heavy scene you know well, and walk the room — if the bass booms in one spot and vanishes in another, shift the sub a metre and try again. Because it’s wireless on both of the systems here, you can place it wherever the room likes it, not wherever the cable happens to reach.
Matching an AVR, if you go the separates route
Pick the receiver by four things and ignore the rest. First, eARC — you want the full-quality return channel from the TV, not the older compressed one. Second, Atmos and DTS:X decoding, so the height layer actually gets used rather than sitting there as a spec-box tick. Third, room correction (Audyssey, Dirac, or the maker’s own) — in a real living room with sofas, windows and a hard wall, this is the feature that separates “loud” from “right”. Fourth, enough channels to grow: buy for 5.1.2 today and you’ll want a seven-channel amp at minimum.
On power, don’t chase the biggest number on the box. The S526’s towers are efficient enough that a competent mid-range AVR drives them comfortably at any volume a neighbour will tolerate.
Where this is heading — the wireless ceiling
Step back and the trend is obvious: the “no drilling” constraint is quietly becoming “no wiring at all”. Surrounds and subs went wireless first, and the only cable still standing is the one to the TV. For a lot of rooms, that’s already enough to make the argument that you never needed the renovation in the first place.
The same thinking is pushing into systems that lean on processing more than physical speakers. The OXS Thunder Pro+ is a 7.1.2 system that does its height work through virtualisation and driver design rather than ceiling speakers — aimed at gaming desks, but built on exactly the wireless-first, no-holes logic we’ve been describing. At the entry end, the OXS Thunder Lite does the same trick in a single bar. Neither asks you to touch a wall.

The bottom line
A 5.1.2 in a rented flat or a finished family room is a solved problem. Choose the soundbar package if you want it done in an afternoon; choose separates if you want room to grow. Put surrounds on stands, run the thin cable along the skirting, and let up-firing drivers hand you the height layer. The renovation was always optional — the sound isn’t.
Gear Radar is our editorial corner: buying guides, reviews and tutorials for people who care about how things sound. No sponsored rankings, ever.