How to Get Real Dolby Atmos Out of a PS5, Xbox or Gaming PC
You bought a Dolby Atmos soundbar. Your console says Atmos. Your game says Atmos. And it still sounds like a slightly better version of your TV speakers. The problem is almost never the bar — it is one of four settings between the game and your ears.
Atmos is not a plug-and-play upgrade the way a new pair of headphones is. It is a chain: the game or film has to output object audio, the console or PC has to pass it without decoding it into something simpler, the cable has to have the bandwidth for it, and the bar needs speakers that can actually place sound above you. Break any one link and you get a clean, perfectly decent 5.1 signal that is missing exactly the part you paid for.
Here is how to get the whole chain right, in the order that matters.
Rule 1: console into the TV, TV into the bar
This is the single most common mistake, and it comes from a reasonable instinct: plug everything into the bar so the bar handles all audio.
The catch is that HDMI passthrough on a soundbar is a video product too. Some bars pass 4K and Dolby Vision through perfectly well — the Jamo HCS B5, for example, has two HDMI 2.1 inputs and an eARC output that pass 4K and Dolby Vision. But many bars, including some expensive ones, cannot pass 4K at high refresh rates with variable refresh rate intact. Put your console behind them and you have just downgraded your picture to protect your sound.
The setup that works everywhere:
Console → TV, straight in, on the TV’s best gaming input. The TV sees the console directly and keeps every frame rate and VRR mode it supports.
TV → bar over the HDMI port marked eARC. The TV forwards the audio down that cable, and eARC is the only mainstream connection with the bandwidth to carry full-quality Atmos.
You only do it the other way — console into the bar — if the bar is your HDMI switch by necessity, or if the bar has a genuinely full-bandwidth passthrough and your TV’s eARC port is already taken.
Rule 2: never optical, never Bluetooth
Optical (TOSLINK) is still on the back of most bars because it is useful for a 2010-era TV or a CD player. It cannot carry Dolby Atmos. It does not have the bandwidth or the protocol support, and no setting anywhere in your menu will change that.
Bluetooth cannot carry it either, at any codec or bitrate. If you are sending audio to the bar wirelessly by Bluetooth, you are listening to a compressed stereo or surround stream that Atmos metadata was stripped out of. Bluetooth is for playing music from your phone. It is not a home-theatre connection.
Rule 3: make the TV pass the signal through, not down
A TV sits in the middle of this chain, and it can quietly destroy your Atmos before the bar ever sees it. Two settings to find in the TV’s audio menu:
Digital audio output: Bitstream, Auto, or Dolby Digital Plus. Not PCM. A TV set to output PCM will decode and flatten the signal before passing it along — and if it downmixes to stereo PCM, the Atmos metadata is simply gone. This one setting is responsible for a remarkable share of “why doesn’t my Atmos bar sound like Atmos” complaints.
eARC enabled, not just ARC. Plain ARC can carry a lossy wrapper of Atmos on some TVs, but eARC is the version designed to carry it properly. Check the label on the TV’s HDMI ports, then check that the port is set to eARC in the menu — some TVs require you to select it.
Use an HDMI cable rated for the job. Old bargain-bin cables are a frequent culprit at 4K, and the failure mode is silent: it negotiates down and drops the Atmos stream without telling you.
Rule 4: set the console to output Atmos, not decode it
Both current PlayStation and Xbox consoles can output Dolby Atmos to a home-theatre system. What you have to avoid is the console decoding the audio itself and sending the result downstream, which is what happens with the default “TV” or “Stereo” audio settings.
Go into the console’s audio output settings and choose the Dolby Atmos / home-theatre option rather than a stereo or TV preset. The exact wording differs between PS5 and Xbox and moves around with system updates, but the option you want is the one that names Dolby Atmos or “home theatre” as the speaker layout.
Then verify it, don’t assume it. Almost every Atmos-capable bar and TV displays an “Atmos” indicator on its display or in its app when it is receiving a genuine Atmos stream. Play something you know is mixed in Atmos at high volume and check that indicator. If it never appears, the problem is upstream in the chain, and no amount of tweaking the bar will fix it.
On Windows: the Dolby Access route (and the setting that trips everyone)
A PC needs one extra step the consoles do not, because Windows will happily output plain surround unless you tell it otherwise. The process that actually works, for a bar connected over HDMI:
1. Connect the PC to the soundbar over HDMI. On an OXS bar, switch the sound mode to one of the game modes (FPS, RAC or MOBA) — the Atmos path on this hardware is tied to the game modes rather than the Standard preset.
2. Install Dolby Access from the Microsoft Store, and accept the terms. This is the app that exposes Atmos to Windows.
3. Inside Dolby Access, go to Products and select Home Theatre, then enable the upmixing option.
4. In Windows, click the sound icon in the taskbar, choose the sound output, and set Spatial sound format → Dolby Atmos for Home Theater.
5. The gotcha: in Windows sound settings, open the playback device’s properties and uncheck “Exclusive Mode.” With exclusive mode enabled, the Dolby Atmos service cannot communicate with the external audio device, and you get silence from a setup that looks completely correct. This single checkbox is the most common reason a PC Atmos setup produces no sound at all.
One hardware caveat worth knowing before you spend an evening on this: some laptops only support Dolby Audio rather than Dolby Atmos at the hardware level, and no app will upgrade them. If Dolby Access reports the hardware is not capable, that is the end of the road on that machine, not a configuration error on your part.
Rule 5: give the up-firing drivers a clear shot at the ceiling
All of the above is worthless if the hardware has nowhere to bounce sound. Up-firing height channels work by aiming sound at your ceiling and letting the reflection reach you, which means:
Nothing on top of the bar. No shelf directly above it, no close-fitting cabinet opening, no decorative object resting on it. If the top of the bar is covered, the height layer is off.
Flat ceiling, no obstacles. Sloped ceilings, beams and ceiling fans break the reflection. So does heavy acoustic panelling directly above the seating area.
Push it to the front edge of the furniture. A bar recessed into a cabinet fires most of its energy into the shelf, at every height. Bring it forward so the angled drivers have line of sight to the ceiling.
And the honest one: check whether your bar has height drivers at all. Plenty of bars in the $300–$550 range decode Atmos but create the overhead layer through processing rather than hardware, and no amount of wiring will change what the box is physically capable of.
If you are buying a bar for this, look at the passthrough
For a console or PC setup, two specifications decide whether you will actually get Atmos:
HDMI eARC, verifiably. Not “HDMI out.” Not “ARC.” The eARC label, on the bar and on the TV.
Up-firing or height drivers, named in the manufacturer’s own copy — plus a HDMI input if you plan to plug a second device straight into the bar.
Priced against the manufacturers’ own US stores in September 2026, the current options we can verify: JBL Bar 1000MK2 ($749.95) is the first bar in JBL’s current line with real up-firing drivers, sold as a 7.1.4 system with detachable surrounds. Bose Smart Ultra Soundbar ($999) has two upward-firing dipole speakers; the cheaper $549 Bose Smart Soundbar is not described that way. Below that, the mainstream bars sell you the Atmos badge with virtualised height — Amazon’s and JBL’s $400 shelves are full of them.
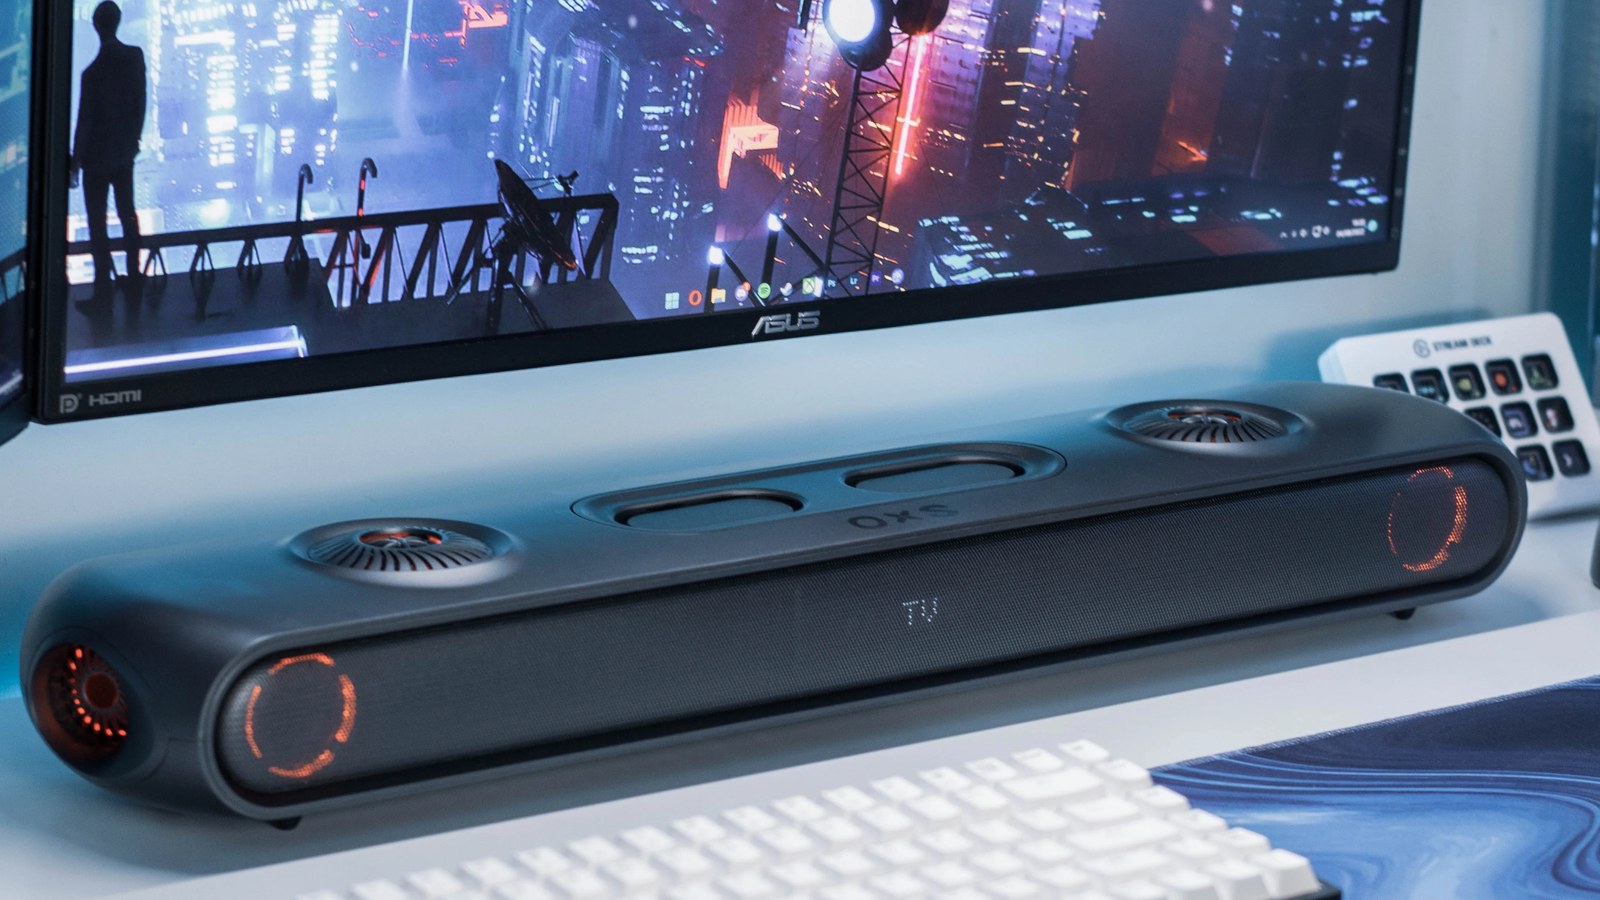
The two we sell sit deliberately in that gap. The Jamo HCS B5 at $499 is a 5.1.2 system with real up-firing units, thirteen drivers, an included 8-inch wireless subwoofer, and 4K/Dolby Vision passthrough on two HDMI 2.1 inputs — which means you can put a console behind it without losing picture quality. The OXS Thunder Pro+ at $699.99 is a 7.1.2 gaming system with ten drivers and two up-firing sky channels, HDMI IN and eARC, USB-C for a PC, and game modes that pull footsteps forward in the mix. Its rated low end depends on an optional 80W subwoofer sold separately — worth knowing before you compare it to systems that ship with one.
If you want the cheapest honest way to test whether Atmos is worth this effort to you at all, the OXS Thunder Lite at $149.99 decodes Atmos properly and widens the stage convincingly for the money — but be clear on what it is: virtual surround from a single compact bar, not an up-firing height layer. That is a fair description of everything at that price.
The five-minute troubleshooting checklist
No Atmos indicator, ever. The signal died upstream. Check TV output is bitstream, not PCM, and that the console is set to Atmos output rather than stereo.
Atmos indicator appears, but it sounds flat. Your bar may be virtualising the height layer — check the spec sheet for “up-firing,” and check nothing is sitting on top of the bar.
No sound at all on a PC. Uncheck Exclusive Mode in the Windows playback device properties.
Dialogue is fine, effects are thin. You are likely on the wrong preset. Game modes and Movie modes change the whole EQ balance, not just the surround tricks.
It works on one source and not another. That is almost always the source, not the hardware. Not every streaming tier, app or game ships an Atmos mix, and not every device in the chain is licensed to pass it.
Read the companion explainer on what 7.1.2, 5.1.2 and 7.1.4 actually mean if any of the terminology above is still doing work you have not verified for yourself — and if you are choosing a bar for a desk rather than a sofa, our gaming soundbar buying guide covers the desktop case in detail.
Weighing the Jamo in particular? our Jamo HCS B5 review covers what is in the box, the 1,240 mm width problem most people discover after delivery, and who should buy the OXS Thunder Pro+ instead. Our own systems are on the OXS and Jamo brand pages.
Micproduct’s guides are written by people who sell, install and live with this gear. We name our own products and our competitors’, and we tell you when the other one wins. No sponsored rankings, ever.